2014 is quickly wrapping up. It is a dark early evening, too dark to paint, so I am blogging instead. Facebook and WordPress are putting out these computer generated annual content reports, but they are much too silly, or artificial is possibly a better description. So I thought I will tell you what really happened this year :).
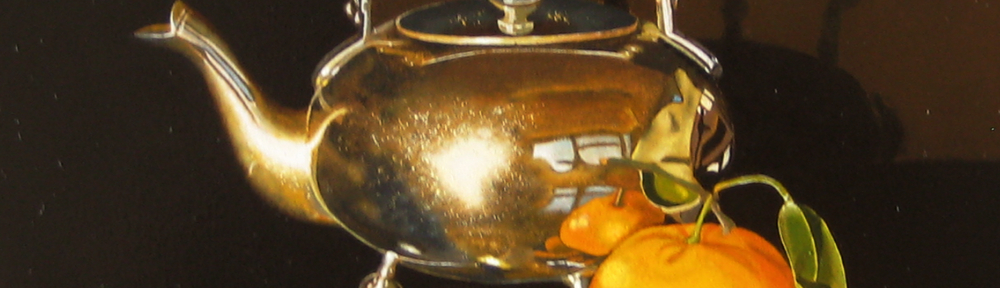
I painted 6 paintings:


Ok, the last one – working title Turning Time – is still a work in progress!
E is for Empathy will appear on a cover of my husband’s book A Rumor of Empathy, Resistance, Narrartive, Recovery in Psychoanalysis and Psychotherapy – Lou Agosta, PhD (this is a plug, so what!)
Adagio for Three Strings has won a Most Innovative award in National Oil and Acrylic Painters Society (NOAPS) Fall Show. Much too excited about this!
I had work in two shows in 2014:
– Matite in Viaggio, Centro Candiani, Venice Italy – October 2014
– National Oil and Acrylic Painters Society (NOAPS) – December 2014

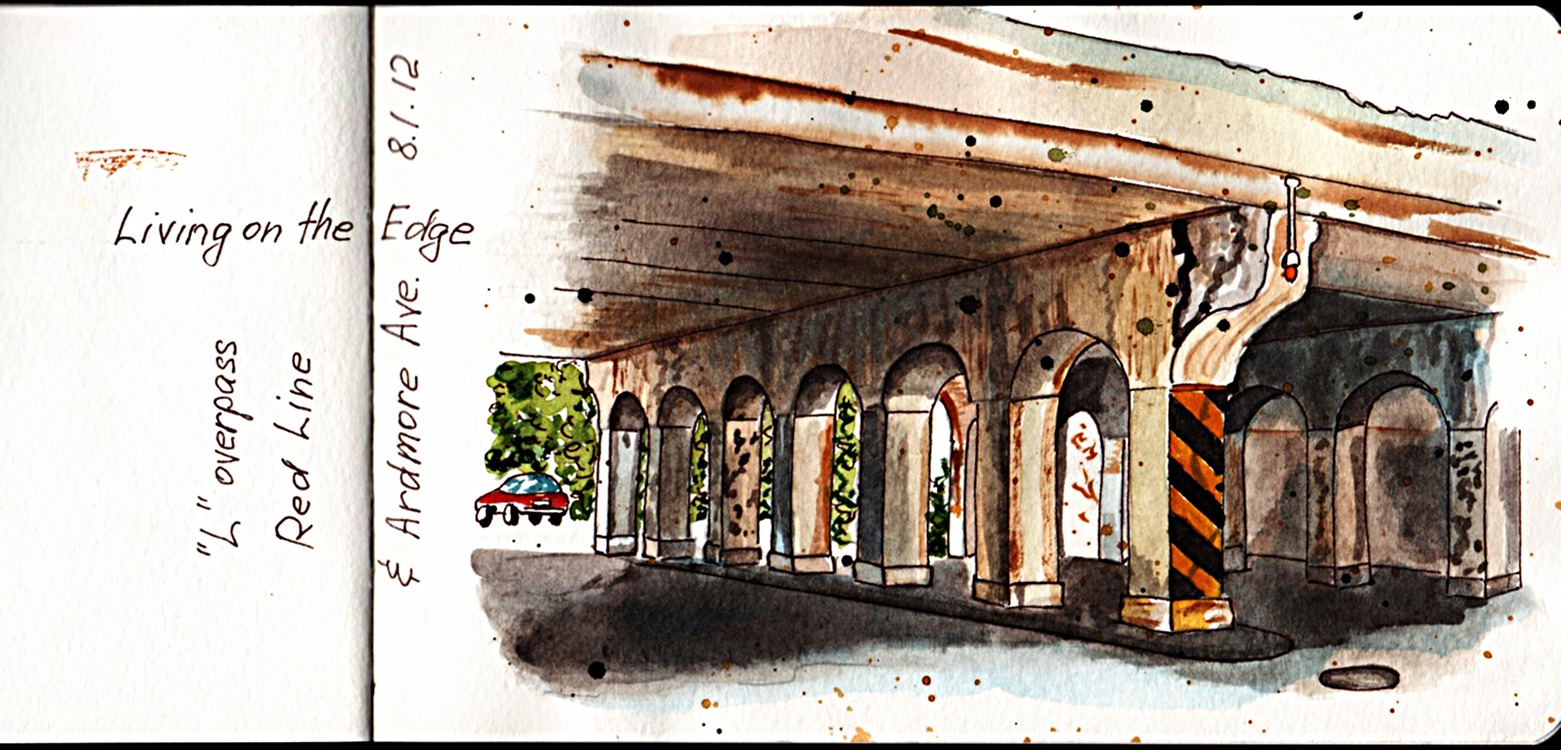
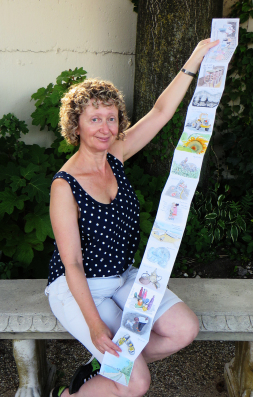
I participated in my second Sketchpack project
It runs from Cape Town South Africa. Every day for the month of August I drew a small drawing. My 31 drawings traveled to Cape Town SA to participate in a show.

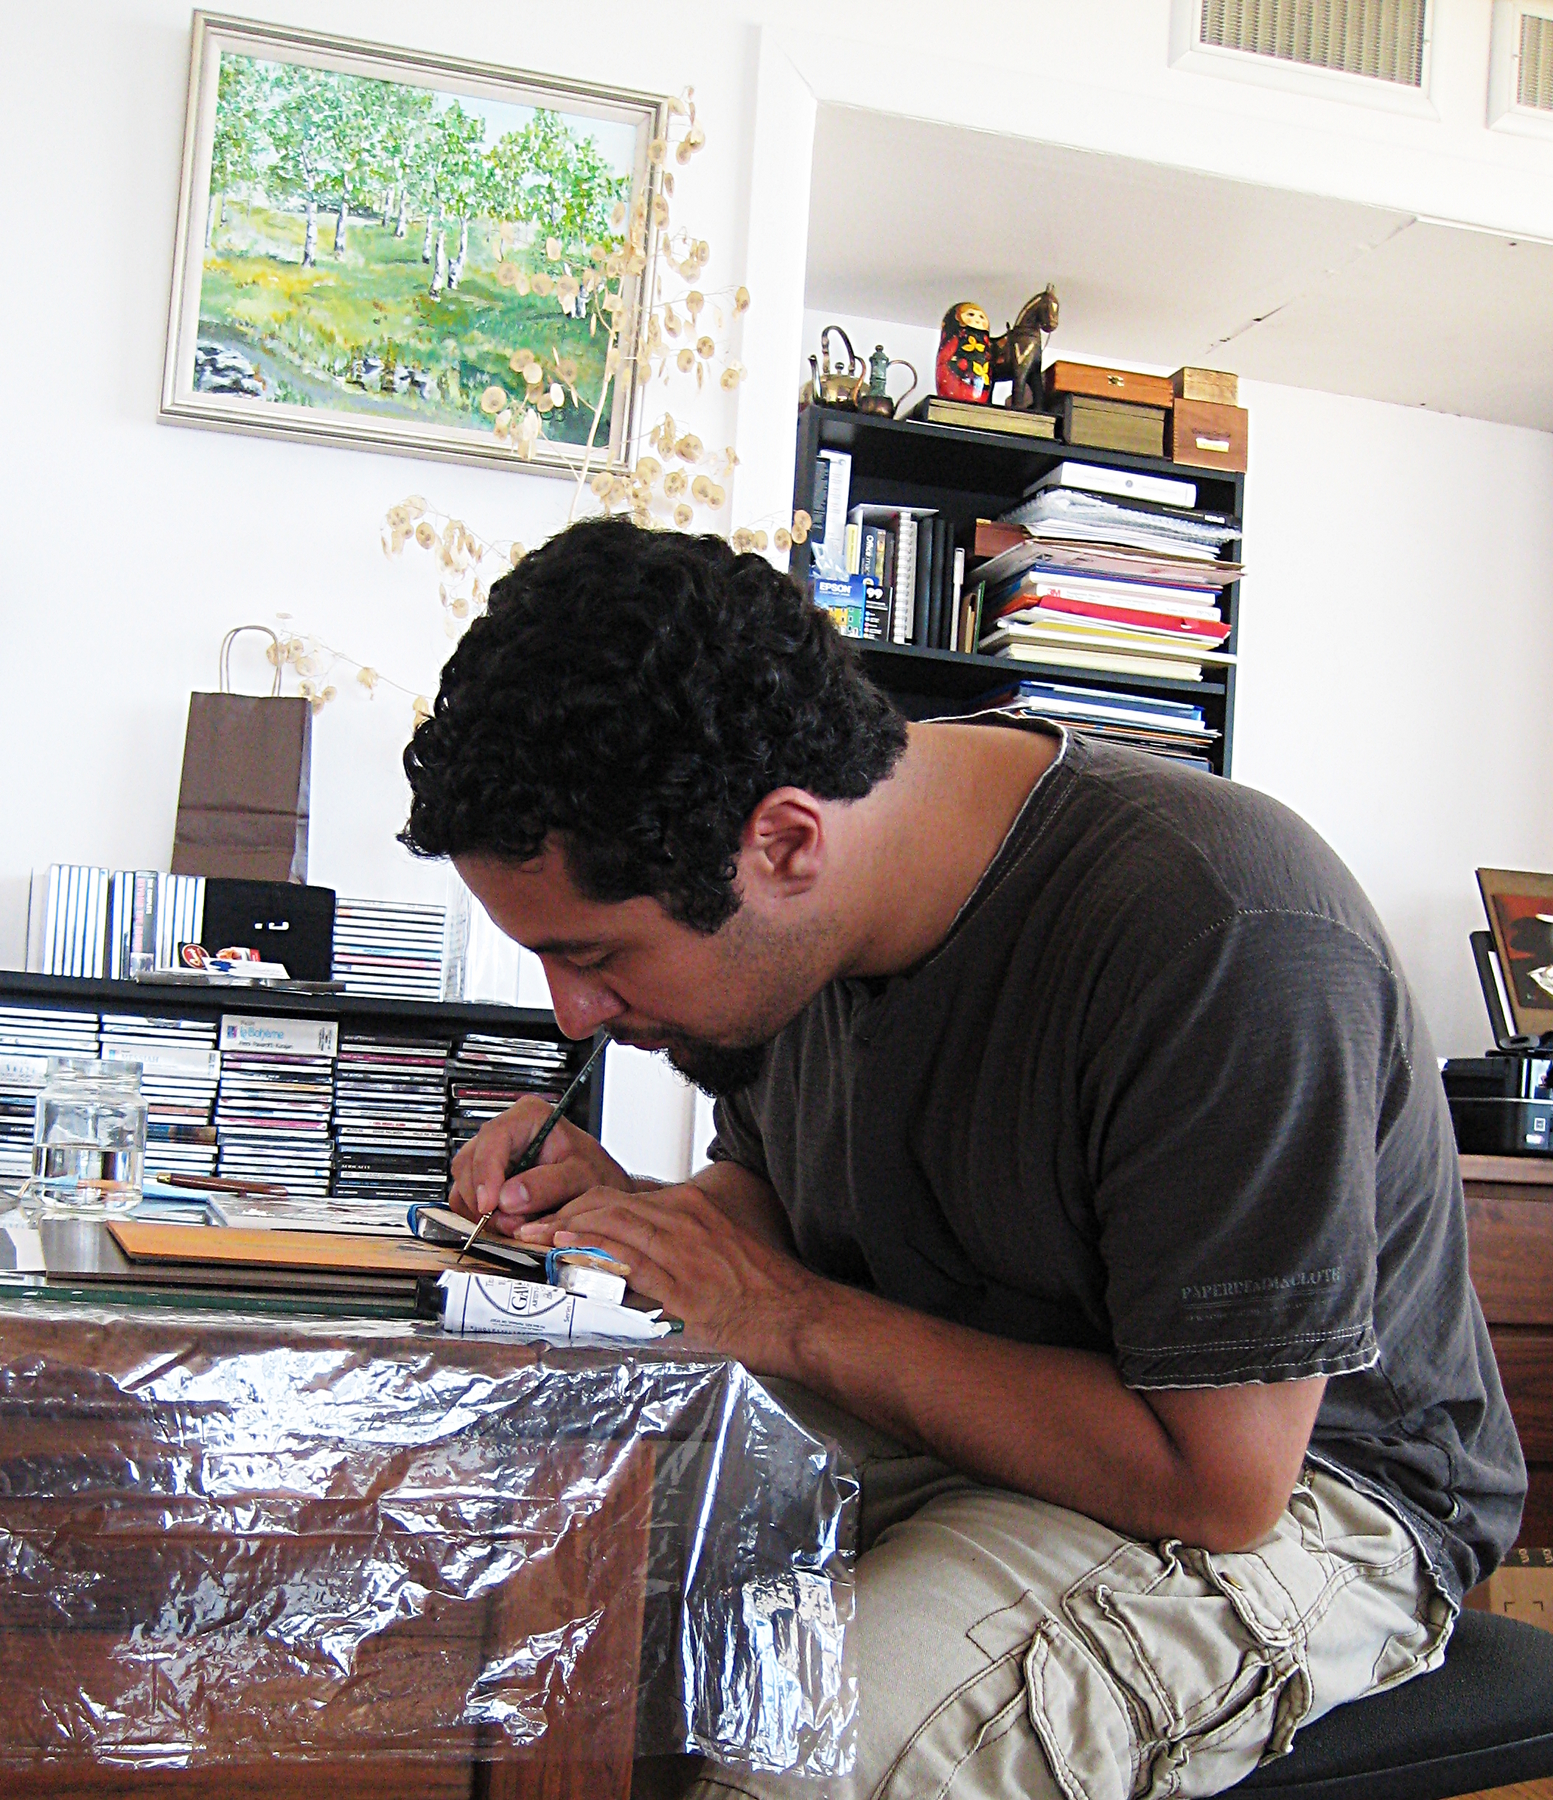
I have started teaching oil painting
and had a number of victims students study with me in my studio as well as online via Skype, gotta love technology!

Urban Sketchers Chicago
Urban Sketchers Chicago, a sketching group I started in 2012, is going strong with its monthly sketch crawls, active Facebook, blog and other online presence. The group now has nearly 350 sketchers and a wonderful unique spirit.
Chicago Sketch Seminar 2014 took place in June 2014 and was a great success. I was privileged to lead a group amazing volunteers and together we created this wonderful event. About 70 sketchers from all over USA and even one international sketcher attended and participated in 8 sketching workshops and 3 sketching activities. And one Dinner, Drinks and Drawing event!
If you are still reading this, I really appreciate!
I hope you had nice holidays so far and wishing you Happy Healthy and Arty New Year!!
via Alex Zonis art » Blog http://alexzonisart.com/2014/12/2014-and-its-a-wrap/